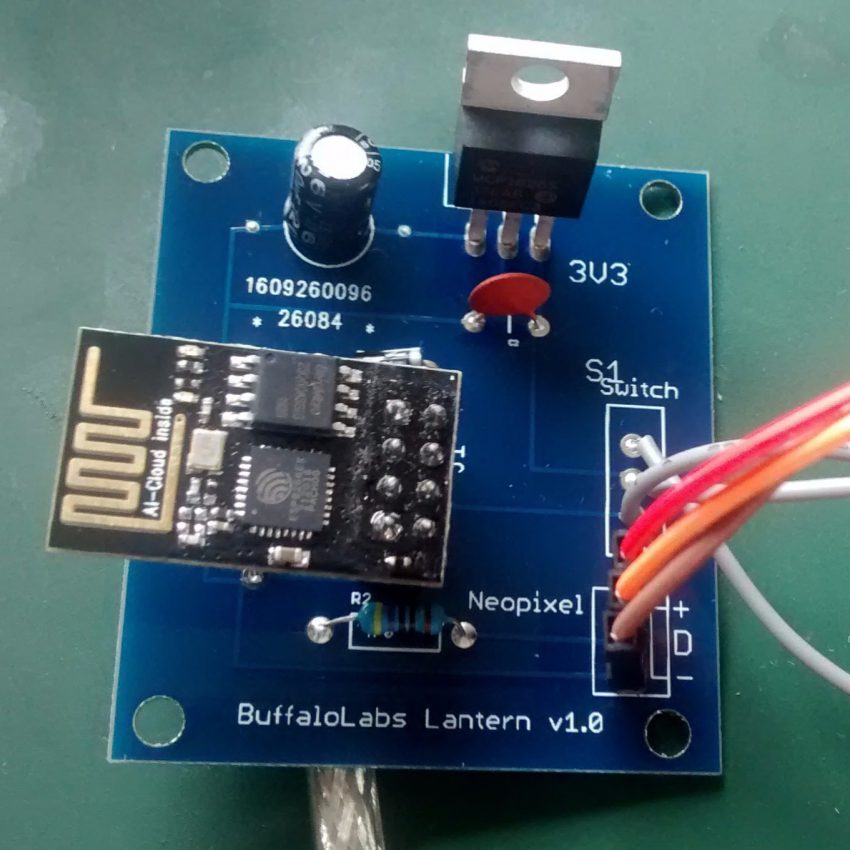
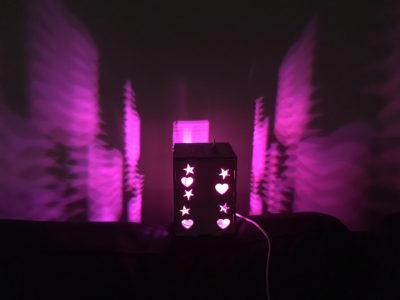
Inspired by the RGB LED ceiling lights at DSL, i made a lantern based on the same ESP8266 chip, but using the Arduino IDE to program it. I used the original ESP-01 package which has only a few GPIO pins available but enough for this application. The only other component is a voltage regulator that drops the USB power supply (power bank, charger..) to 3.3V.
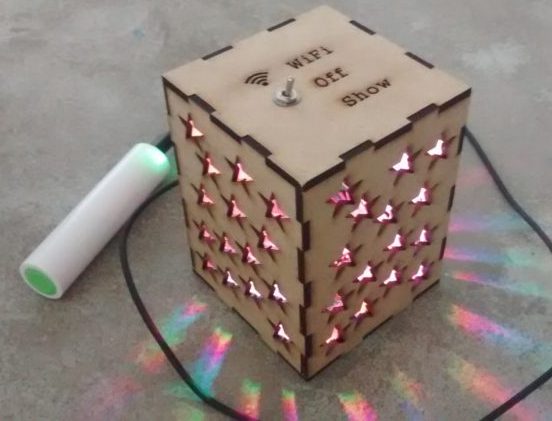
The ESP8266 creates its own WiFi access point, so it works anywhere. When you connect to this local WiFi network, you can change the lantern colour via a webpage. The other position of the switch just runs an RGB animation.
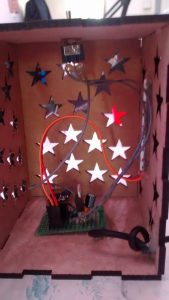
I used the DSL laser cutter to make the box out of 3mm MDF. The outline of the panels was generated using Inkscape, with an extension for laser cut tabbed boxes.
I took an old USB cable and cut off the mini connector, stripped off the wires to use the GND and 5V. For the latest version, i made a simple PCB.
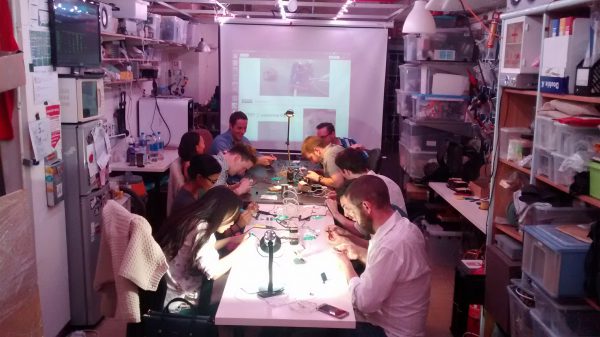
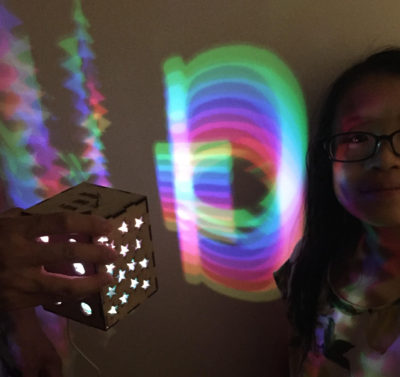
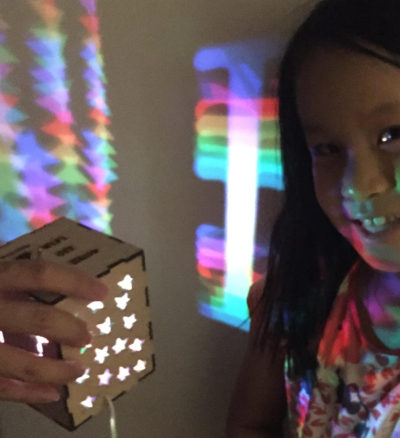
I also made this lantern with the kids in my Saturday morning Arduino workshop at DSL, and they quite enjoyed the soldering, designing their box, and gluing it together with hot glue. The whole process took us about 3 hours.
I posted the code and more details including videos here.
We had a good workshop on 23 Nov 2016 making this lantern.
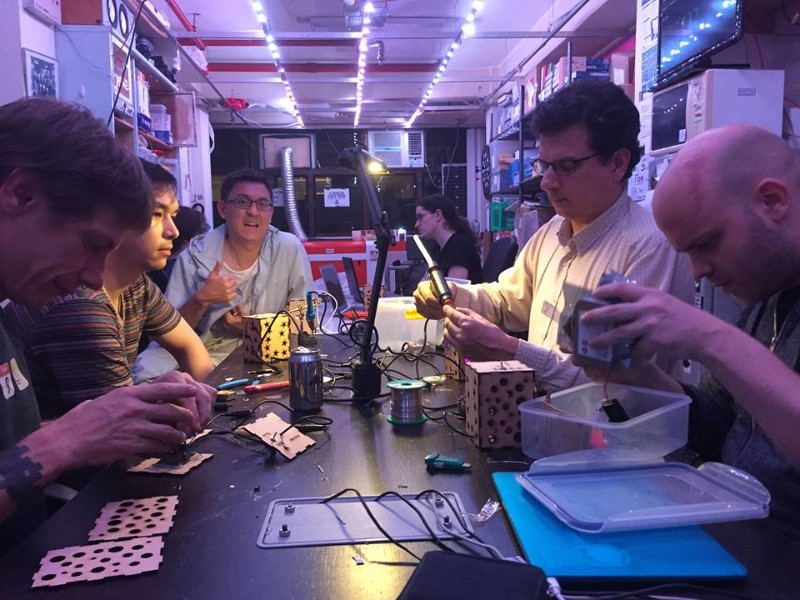
And another one on 2 Dec 2016 for a group of 10.